Table of Contents
First OpenGL Program
To start, we need to import the necessary libraries: glium for handling OpenGL in Rust, and winit for creating windows and managing events.
cargo add glium winit
The first step is to prepare the window. We'll need an event_loop, which we then attach to our window, providing us with both a window and a display surface.
   let event_loop = EventLoop::new().expect("Failed to create event loop");
   let (window,display) = SimpleWindowBuilder::new().with_title("Chapter2 - program1").build(&event_loop);
We might also want to set an initial color for the window.
OpenGL utilizes a technique known as double buffering. This means that instead of drawing directly onto the window, we draw onto a buffer (referred to as a frame) first. We then dispose of this frame, allowing glium to copy its contents to the window. The term "clear_color" is similar to the OpenGL function glClearColor.
    let mut frame = display.draw();
    frame.clear_color(1.0, 0.0, 0.0, 0.0); // Fill with red // glClearColor
    frame.finish().unwrap();
Upon running this code, we'll notice the window closes immediately. To keep it open until we decide to exit, we need to manage the event_loop effectively.
    event_loop.run(move |event, window_target|
    {
        match event
        {
            Event::WindowEvent {event,..} => match event {
                WindowEvent::CloseRequested => window_target.exit(),
                _=>(),
            },
            _=>(),
        };
    }).unwrap();
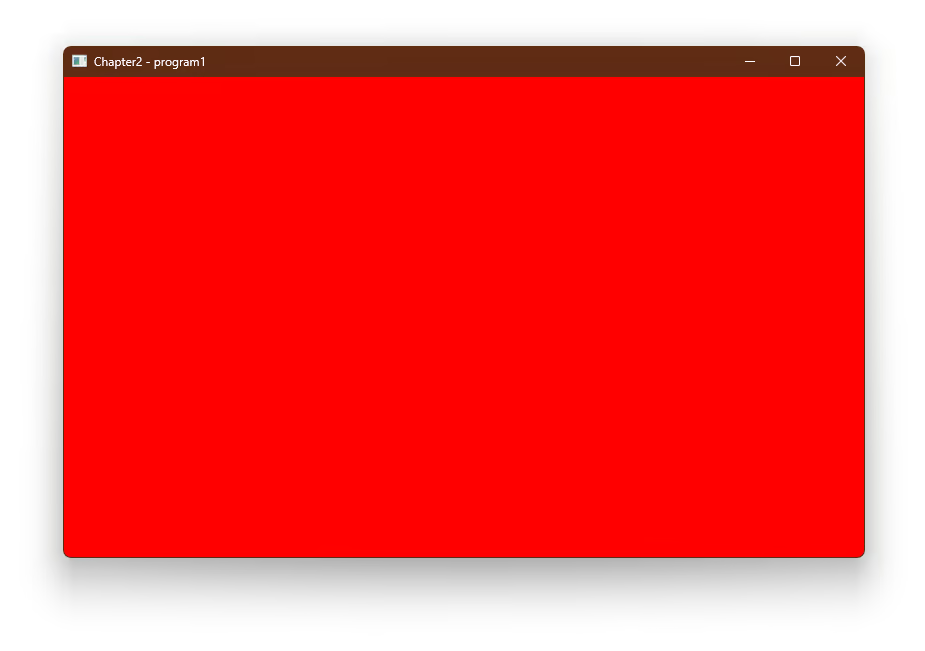
With this setup, running the program will display a small window with a red background.
Vertex Shader and Fragment Shader
Similar to C++, we need to use GLSL to write vertex shaders and fragment shaders. These shaders will instruct the hardware on how to color vertices and fragment pixels.
let vertex_shader_src = r#"
#version 460
in vec2 position;
void main() {
gl_Position = vec4(position, 0.0, 1.0);
}
"#;
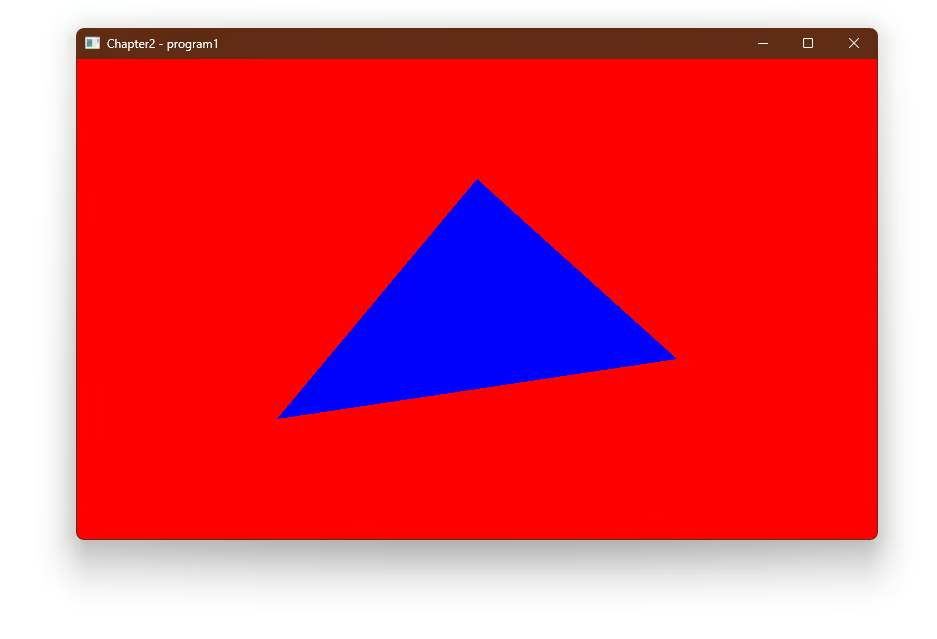
let fragment_shader_src = r#"
#version 460
out vec4 color;
void main() {
color = vec4(0.0, 0.0, 1.0, 1.0);
}
"#;
Next, we need to compile these two shaders and initialize a Render Program. For the geometry shader, we'll temporarily set it to 'none' for now, as we will consider 3D later. At the moment, we are focusing solely on 2D rendering.
    let program =
        Program::from_source(&display, vertex_shader_src, fragment_shader_src, None).unwrap(); // glCreateShader & glShaderSource & glCompileShader & glAttachShader
OpenGL requires a Vertex Array Object (VAO) to serve as the buffer for vertex objects. We can directly define the structure of the point set and generate it.
#[derive(Copy, Clone)]
struct Vertex {
    position: [f32; 2],
}
implement_vertex!(Vertex, position);

    let vertex1 = Vertex {
        position: [-0.5, -0.5],
    };
    let vertex2 = Vertex {
        position: [0.0, 0.5],
    };
    let vertex3 = Vertex {
        position: [0.5, -0.25],
    };
    let shape = vec![vertex1, vertex2, vertex3];

    let vertex_buffer = VertexBuffer::new(&display, &shape).unwrap(); // glGenVertexArray & glBindVertexArray
	let indices = glium::index::NoIndices(glium::index::PrimitiveType::TrianglesList);
Next, we can begin the drawing process. Pass our Vertex Buffer, Indices and Program.
    frame
        .draw(
            &vertex_buffer,
            &indices,
            &program,
            &EmptyUniforms,
            &Default::default(),
        )
        .unwrap();
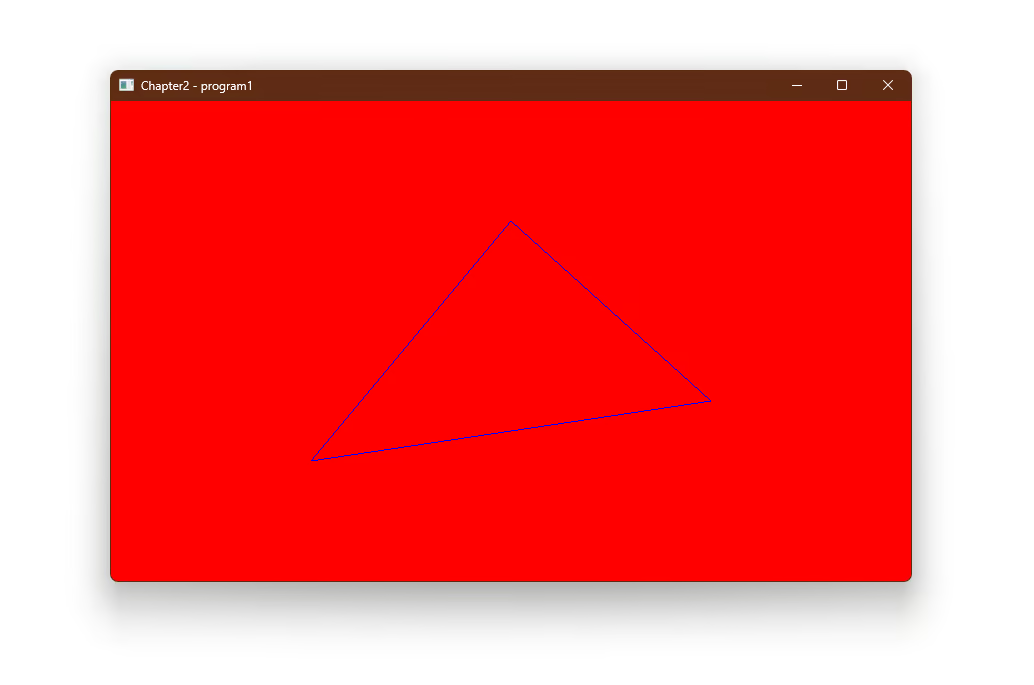
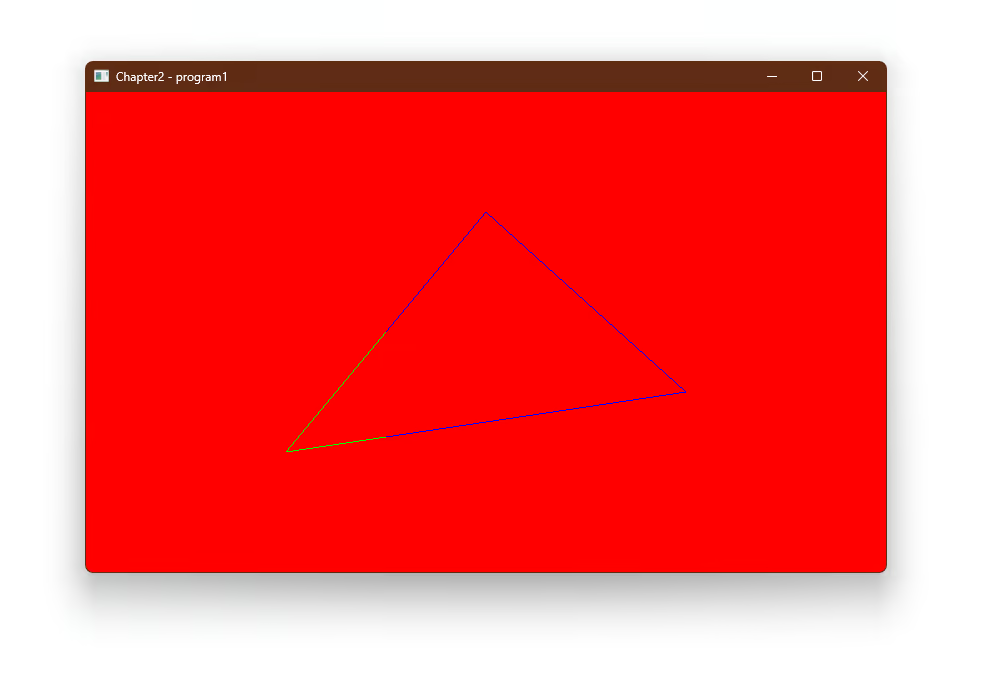
Wireframe Mode
We can also draw this in wireframe mode, but we need to modify the DrawParameters:
    let draw_parameters = DrawParameters{
        polygon_mode:glium::PolygonMode::Line, // glPolygonMode
        ..Default::default()
    };

    frame
        .draw(
            &vertex_buffer,
            &indices,
            &program,
            &EmptyUniforms,
            &draw_parameters,
        )
        .unwrap();
    frame.finish().unwrap();
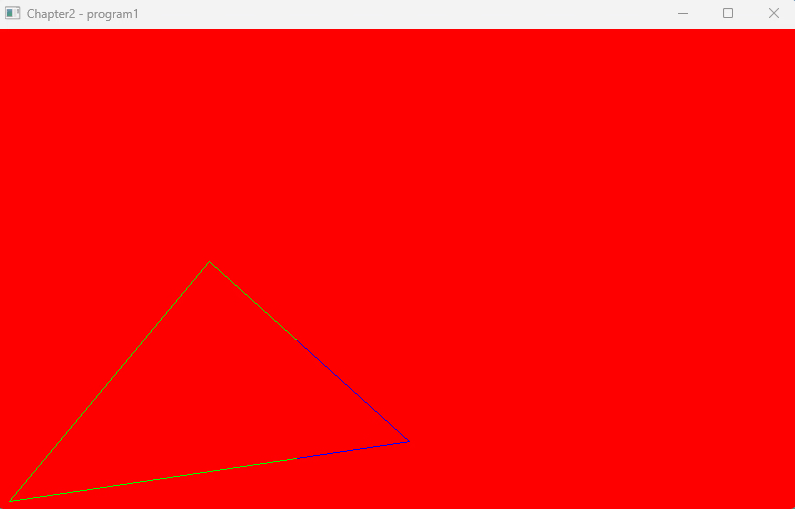
Colour by Position
We can also modify the fragment shader, so we can change the color based on position:
    let fragment_shader_src = r#"
    #version 460

    out vec4 color;

    void main() {
        if (gl_FragCoord.x < 300) color = vec4(0.0,1.0,0.0,1.0);
        else color = vec4(0.0,0.0,1.0,1.0);
    }
    "#;
Animation
Do you still remember, there is a EmptyUniforms we used in draw. We can use it to change the position of our triangle.
First, we need allow our vertex shader to accept uniform
    let vertex_shader_src_animation = r#"
    #version 460

    in vec2 position;
    uniform vec2 offset

    void main() {
        gl_Position = vec4(position + offset, 0.0, 1.0);
    }
    "#;
Then, in event loop, we can change the offset and apply it to draw
    // outside the event loop
    let mut offset = [0.0, 0.0]; // init offset
	let mut direction = [0.01, 0.01]; // speed and direction

	// inside the event loop
    // update offset
    offset[0] += direction[0];
    offset[1] += direction[1];

    if offset[0] > 1.0 || offset[0] < -1.0 {
        direction[0] *= -1.0; // change direction
    }
    if offset[1] > 1.0 || offset[1] < -1.0 {
        direction[1] *= -1.0; // change direction
    }

    let mut frame = display.draw();
    frame.clear_color(1.0, 0.0, 0.0, 0.0); // Fill with red

    frame
   .draw(
        &vertex_buffer,
        &indices,
        &program,
        &uniforms,
        &draw_parameters,
    )
    .unwrap();

    frame.finish().unwrap();
But you will see, the animation will move very fast, even faster than computer can show. That's because the animation will move by frame. Each frame the triangle will move by offset,the frame rate will be hundreds or even thousands frame per second.
We can use Event Loop, after draw a new frame, the AboutToWait will be send, we can use that to draw our next frame.
    event_loop
        .run(move |event, window_target| {
            match event {
                Event::WindowEvent { event, .. } => match event {
                    WindowEvent::RedrawRequested => {
                        offset[0] += direction[0];
                        offset[1] += direction[1];

                        if offset[0] > 1.0 || offset[0] < -1.0 {
                            direction[0] *= -1.0; // change direction
                        }
                        if offset[1] > 1.0 || offset[1] < -1.0 {
                            direction[1] *= -1.0; // change direction
                        }

                        let uniforms = uniform! {
                            offset: offset,
                        };

                        let mut frame = display.draw();
                        frame.clear_color(1.0, 0.0, 0.0, 0.0); // Fill with red

                        frame
                        .draw(
                            &vertex_buffer,
                            &indices,
                            &program,
                            &uniforms,
                            &draw_parameters,
                        )
                        .unwrap();

                        frame.finish().unwrap();
                    },
                    WindowEvent::CloseRequested => window_target.exit(),
                    _ => (),
                },
                Event::AboutToWait => {
                     window.request_redraw();
                }
                _ => (),
            };

        })
        .unwrap();